databasedev.co.uk - database solutions and downloads for microsoft access
Microsoft Access Articles
- General Microsoft Access Articles
- Microsoft Access 2007 Articles
- Tables
- Queries
- SQL
- Forms
- Reports
- Macros
- Modules & VBA
- Data Models
- Downloads
GUI Design
Resources
Online Shop
Info
Database Splash Screen
How to add a Welcome Message for your Database User's:
Looking for that extra special effect to give your database project a professional flair.
Would you like to add a welcome message for your user's as they log into your database? If the answer is yes then carry on reading.........
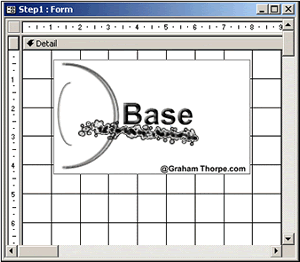
Step 1. Create a new form in design view: To begin with I have changed the form back colour to White and added a picture (you can add a company logo or any other image applicable).
Step 2. Add 3 separate labels to your form: Label and caption these as follows:
| Label Name | Caption Property |
|---|---|
| lblMorning | Good Morning |
| lblAfternoon | Good Afternoon |
| lblEvening | Good Evening |
Apply any formatting options such as font face and size, then set the property of the 3 labels to not visible. Resize the 3 labels so that all are the same size, center the text within each label.
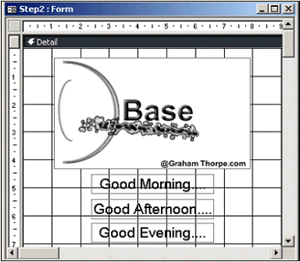
Step 3. Arrange the 3 labels: Reposition the labels so that each one overlays the other. This will ensure that the message is displayed in the same positron each time.
Add the following code to the On Activate Event procedure:
Private Sub Form_Activate()

'When the database is opened display welcome user message.
'When the timer interval is reached, this form closes and opens Switchboard

    If Time() < 0.5 Then
        [lblMorning].Visible = True
        [lblAfternoon].Visible = False
        [lblEvening].Visible = False

    ElseIf Time() > 0.5 And Time() < 0.75 Then
        [lblMorning].Visible = False
        [lblAfternoon].Visible = True
        [lblEvening].Visible = False

    ElseIf Time() > 0.75 Then
        [lblMorning].Visible = False
        [lblAfternoon].Visible = False
        [lblEvening].Visible = True
    End If
End Sub
The above code checks the system time Time(), compares the values using the If, Then, Else statement and displays the appropriate label by making the visible property True or False.

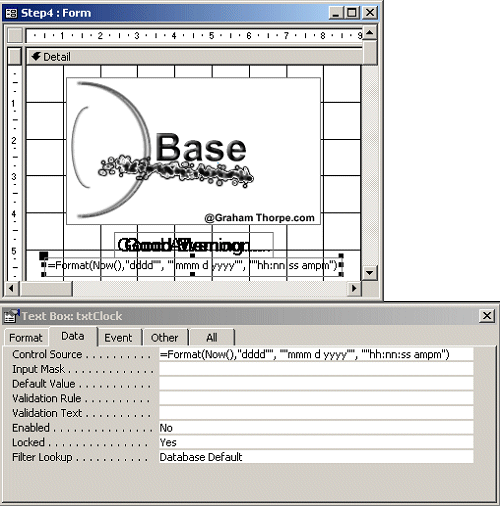
Step 4. Adding a clock control: I then add a text box, deleting the label and setting the control source to =Format(Now(),"dddd"", ""mmm d yyyy"", ""hh:nn:ss ampm"). I have set the properties of this to Enabled: No, Locked: Yes, this ensures that focus is not set to the control, and no changes can be made.
The above now shows all controls in place. The image, the 3 labels (overlaying each other) and the text box containing the clock. The form can now be saved.
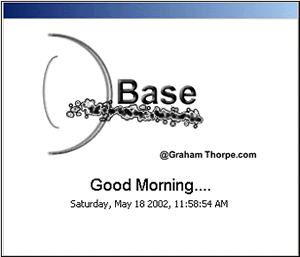
Step 5. Viewing your Welcome form: Depending on your computers time settings, the finished form should look like the following:
If you would further like to customize this screen please also see the article for capturing User Name to be displayed on form.